First we need ti get maya sorted so that the ship, camera angle and image plane are ready to take into after effects-
change these settings before you start

remember to change the playback speed to real time also change it in settings to 25fps
we need to insert the converted TIFF image into maya for the camera and ship to work with. (you converted this with quicktime player)
make sure camera is in correct view
create correct camera
next is to change the alpha gain so we click on the image plane and decrease it so it disapperas in the camera shot because we want a black and white matte for after effects but now we have the correct camera angle.
change presets to HD 1080 so it matches what you shot in after effects. also make the renderable camera the correct view or else it will render not from the camera
remember to change this so that it renders more than one frame. also change frame padding
remember to set the start and end frame to the correct ones
change to render in drop down menu then the drop down for batch render
do this to make the render faster
it should look like this
Now for the scene you need to make in after effects so that the newly made ship,camera angle and animation can blend in to the visually changed image -
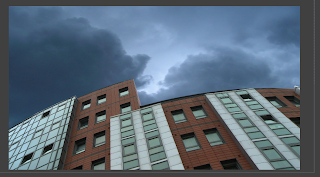
find a correct sky so you want one that looks like its been pictured from the correct angle. one looking down on sky or straight on would look silly
sort out your settings first
then you need to convert your quicktime movie to a TIFF
then insert the image onto a new composition
drag onto a new composition
also set the resolution gate
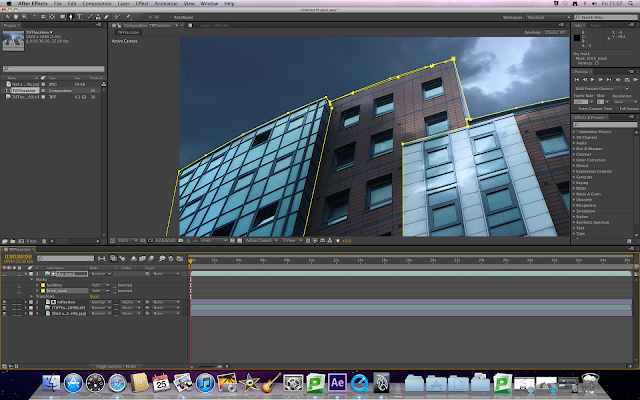
double click in grey to create a new layer. put the sky under the 1st layer in the main composition. you can click on the grey once to click of mask and view your progress

gone round all the brick with pen tool
can change mask expansion to cut edges like with image planes in photoshop, this gets rid of little white bits that are hard to see. also you can use feathering
gone round all the windows
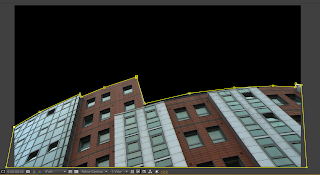
this is the mask layer you can swap between layers to see what you've done so far and what it looked like before

almost there!
move the image layer of the reflection around unitl it makes sence and is not a flat reflection.
we need to get rid of the reflection in the brick, as obvs brick doesn't reflect light like glass does.
She also showed us how to take something you've created in maya and use the cameras in maya to make it look like a ship is flying in.
Lastly she showed us how to take it back into after effects so that we can apply the required special effects we desire to add. A lot of important information learned today :)
-insert screenshots of this here -


No comments:
Post a Comment